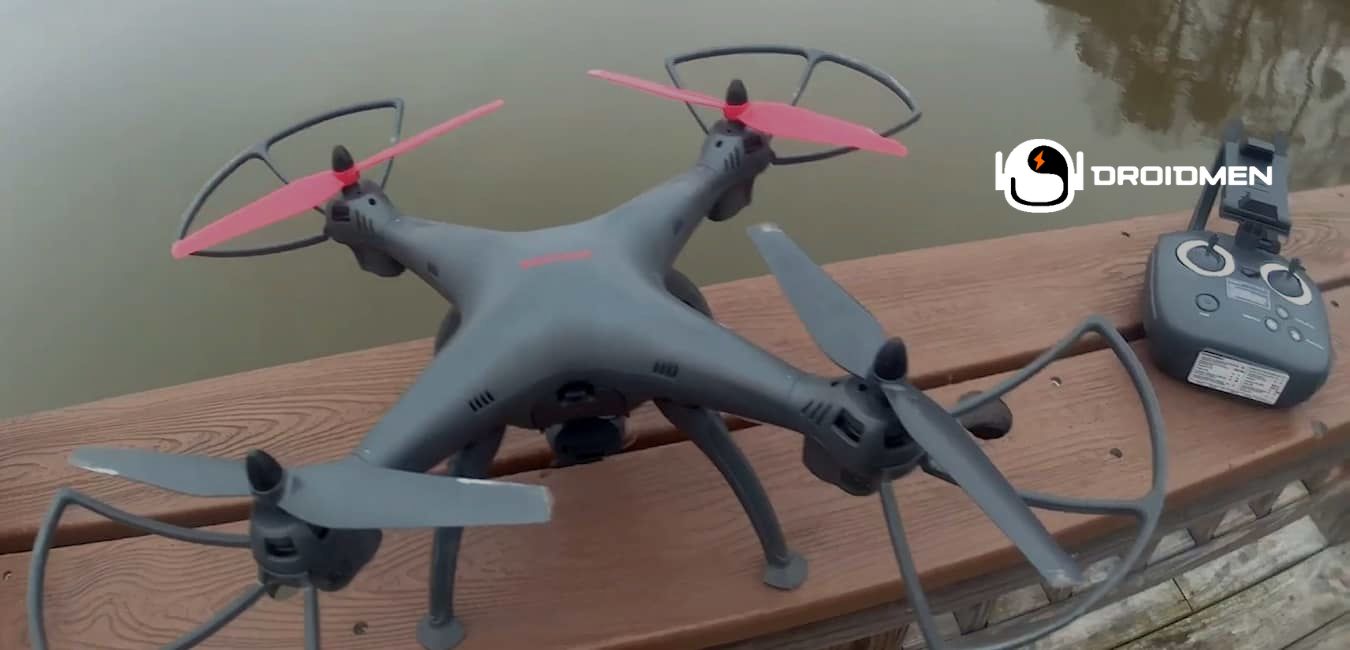
Using a Vivitar drone can be an exciting experience, especially if you’re new to flying drones. Learn how to use Vivitar drone in this interesting article.
Unbox your Vivitar drone and charge the battery. Attach the propellers, insert the battery, and power on both the drone and controller. Pair them, calibrate the drone, and connect your smartphone via the Vivitar app. In an open space, perform pre-flight checks, take off, practice flying, and safely land.
This guide will walk you through every step. This is from unboxing to taking off and capturing stunning aerial shots. By the end of this article, you’ll be equipped with the knowledge to safely and confidently fly your Vivitar drone. Read it to learn more.
Table of Contents
Key Takeaways
- Power On: Hold the power button until the drone lights up. This indicates it’s ready to connect.
- Pair With Controller: Sync the drone to the controller by pressing the pair button until the lights flash.
- Take Off: Push the throttle stick up slowly to lift the Vivitar drone off the ground and start flying.
Step By Step Guide To Use Vivitar Drone

Ready to fly your Vivitar drone? This step-by-step guide will help you to set it up, prepare for flight, and start capturing amazing photos and videos. Follow these simple instructions to ensure a smooth and fun flying experience. Let’s get started to enjoy the flight.
Step 1: Unboxing And Initial Setup
In Step 1, we’ll unbox your Vivitar drone and get it ready for its first flight. We’ll charge the battery, install the propellers, and prepare everything so you’re set to start flying. Let’s make sure your drone is ready to go! Let’s get into the discussion to understand this step well.
Unbox The Drone
Open the box and take out the drone and all its parts. Check the manual to ensure you have everything: the drone, controller, propellers, battery, and charger. Handle each piece gently to avoid breaking anything. Make sure everything is present and intact before you start setting up your drone. This careful unpacking will help ensure everything works perfectly when you’re ready to fly.
Charge The Batteries
Before using your drone, charge the batteries using the provided charger. Plug the charger into a power outlet, then connect the battery. The charging process can take a couple of hours, so it’s a good idea to start this step early. A fully charged battery ensures your drone will perform optimally during flight.
Install The Propellers
Attach each propeller to the drone by matching the labels on the propellers with the labels on the motors. Twist them on until they are snug, but don’t over-tighten. Properly installed propellers help the drone fly smoothly and stay balanced in the air. Make sure they are securely attached to avoid any problems when you start flying.
Step 2: Preparing For Flight
In Step 2, we’ll get your Vivitar drone ready for its first flight. We’ll install the battery and power both the drone and controller and make sure they’re paired together. By preparing carefully, you’ll ensure your drone is set to fly safely and smoothly. Let’s get it ready for takeoff!
Install The Battery
After charging the battery, carefully slide it into the drone’s battery slot. Make sure it fits snugly, and listen for a click to confirm it’s locked in place. A secure battery is important because it powers your drone while it flies. Double-check that the battery is properly installed to ensure your drone operates smoothly during your flight.
Turn On The Drone And Controller
Press and hold the power button on the drone and the controller until the lights come on. The lights show that both devices are turned on and ready to connect. You’ll find these lights on the front of the drone and the controller. Make sure both lights are on before moving to the next step because the devices are ready to be paired and will work together to fly.
Pair The Drone With The Controller
Press the pairing button on the controller to connect it to the drone. Watch for the drone’s lights to start flashing, which means the connection is happening. This step is important because it helps the drone and controller talk to each other. Make sure the lights are flashing before you move on, as this shows the devices are successfully paired and ready for flight.
Step 3: Calibrating The Drone
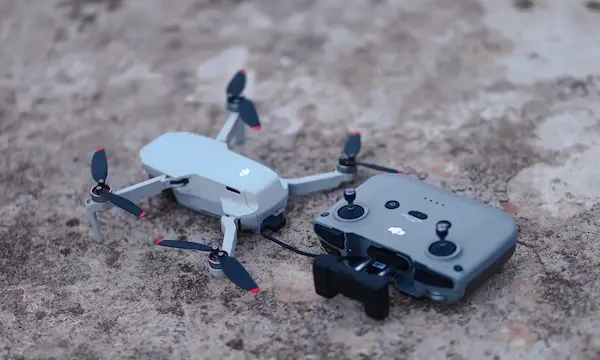
Calibrating your drone is a crucial step to ensure stable flight. Place the drone on a flat surface and follow the calibration instructions in the manual. Calibration typically involves rotating the drone in specific directions. Proper calibration helps the drone understand its orientation and improves flight stability.
Step 4: Using The Vivitar Drone App
In Step 4, we’ll use the Vivitar Drone app to control and monitor your drone. We’ll download the app, connect our device to the drone, and explore its features. This will help us easily manage our drone’s settings and see live footage. Get your app ready for flying! Let’s learn in detail how to do so.
Download The Vivitar Drone App
Get the Vivitar Drone app from the App Store or Google Play on your smartphone or tablet. The app is available for both iOS and Android devices. Once you have it, you’ll be able to control your drone better and see live video from the drone’s camera. Installing the app makes it easier to manage the drone’s settings and enhances your flying experience.
Connect Your Device To The Drone
After downloading the app, connect your device to the drone via Wi-Fi. Go to your device’s Wi-Fi settings and select the drone’s network. Once connected, open the app to access various controls and settings. This connection allows you to view the drone’s camera feed and adjust settings.
App Controls And Settings
The Vivitar Drone app offers a range of controls, including camera settings, flight modes, and GPS tracking. Familiarize yourself with these controls before flying. Understanding the app’s features will give you more control over your drone and allow you to customize your flying experience.
Step 5: Taking Off And Flying
In Step 5, we’ll learn how to take off and fly your Vivitar drone. We’ll find a safe, open area to practice, check everything before the flight, and then get your drone up in the air. This step will help you master the basics of flying and have fun with your new drone! Let’s learn more about it.
Find An Open Space
Look for a large, open area with no trees, power lines, or other obstacles. This space must be free of people and animals. Flying in an open area helps you avoid crashes and gives you plenty of room to practice. It also makes it easier to see and control your drone as you learn how to fly it safely.
Perform Pre-Flight Checks
Before you start flying, do a quick check of your drone. Make sure the battery is fully charged and properly installed. Check that the propellers are tightly secured and not loose. Also, confirm that the drone is calibrated correctly. These steps help avoid problems while flying and ensure a smooth and safe takeoff. Checking everything before you fly will make your flying experience more enjoyable and trouble-free.
Take Off
To start flying, slowly push the throttle stick up. The drone will rise from the ground and hover a few feet above. Take your time to get familiar with how the controls work before flying any higher. A careful and controlled takeoff is important to make sure your drone starts flying smoothly and safely. Practice this step to make sure you’re ready for more advanced flying.
Basic Flight Maneuvers
Begin by practicing simple movements with your drone. Use the joystick to move the drone forward, backward, and side to side. You can also adjust the altitude to make it go up or down. Getting good at these basic controls will help you handle the drone better and perform more complex maneuvers in the future. Take your time to practice and get comfortable with these movements to improve your flying skills.
Step 6: Using Camera And Recording
In Step 6, we’ll learn how to use your Vivitar drone’s camera to take photos and videos. We’ll adjust the camera settings, capture some great shots, and record video from the sky. This step helps you make the most of your drone’s camera and get awesome aerial footage! Let’s get into the discussion.
Camera Settings
Open the app and adjust the camera settings to fit what you want to capture. You can change the resolution for clearer images, set the frame rate for smooth video, and tweak other settings. Getting these settings right helps you take better photos and videos with your drone. Spend some time exploring these options to make sure you get the best quality shots and recordings from your flights.
Taking Photos And Videos
To take photos or record videos, use the app or the buttons on the controller. Move the drone to find the best angle for your shot. Once you’re ready, press the shutter button to capture a photo or start recording. Practice using the camera to get used to how it works and to take great footage. This will help you make the most of your drone’s camera features and get amazing images and videos.
Step 7: Landing The Drone
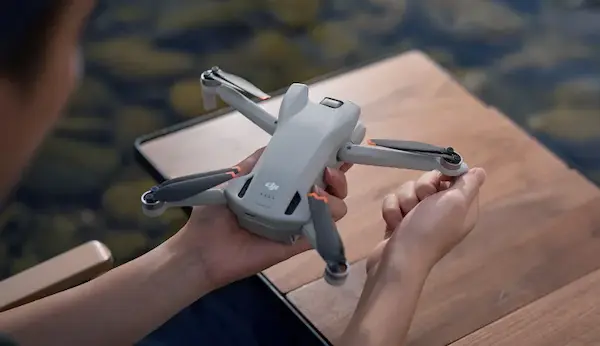
In Step 7, we’ll cover how to land your Vivitar drone safely. We’ll prepare for landing, gently bring the drone down, and then turn off both the drone and controller. Following these steps will help you land smoothly. This will also ensure your drone is ready for the next flight. Let’s better understand this step.
Prepare For Landing
Before bringing your drone down, find a flat, open area to land. Gently lower the drone’s altitude by slowly pulling the throttle stick down, keeping it steady as it approaches the ground. This careful preparation helps you avoid a rough landing that can damage the drone. Practicing smooth landings is important to keep your drone in good condition for future flights.
Land The Drone
To land your drone, gently push the throttle stick down to lower it to the ground. Keep holding the throttle stick down until the drone touches down and the propellers stop spinning completely. A controlled landing is crucial to prevent any damage to your drone and ensure it’s safely back on the ground. Practicing smooth landings will help you protect your drone and make each flight end safely.
Turn Off The Drone And Controller
After landing, first, turn off the drone by pressing its power button until it shuts down. Then, switch off the controller. Always power off the drone before the controller to prevent any accidental commands that can cause it to take off again. This step ensures that your drone is completely powered down and safely ready for storage or the next flight. Following this order helps keep your drone secure.
Step 8: Post-Flight Care
In Step 8, we’ll focus on taking care of your drone after a flight. Post-flight care includes removing the battery, inspecting the drone for damage, and storing it safely. These steps help keep your drone in good condition so it’s always ready for your next adventure. Let’s discuss it in detail.
Remove The Battery
After flying, remove the battery from the drone and let it cool down for a while before charging or storing it. This helps the battery last longer and work better. Proper battery care is important to keep it in good shape and ensure it performs well for your next flight. Always handle the battery carefully to maintain its performance and safety.
Inspect The Drone
After each flight, carefully check the drone for any damage. Look for cracks, loose parts, or anything that seems broken. Pay special attention to the propellers, camera, and the drone’s body. Regular inspections help you find and fix small problems before they become big issues. This keeps your drone in good condition and ensures it works properly for future flights. Make it a habit to check your drone after every use.
Store The Drone
When you’re not flying, keep your drone in a cool, dry place. It’s best to use its original box or a protective case. Proper storage keeps dust away and protects the drone from damage. This helps ensure that your drone stays in good shape and is ready for your next flight. Always store your drone carefully to maintain its condition and extend its life.
Tips For Safe Flying
In this section, we’ll go over important rules to follow while flying your drone. These tips will help you fly safely and avoid accidents. By following these guidelines, you can have fun with your drone while keeping it and others safe. Let’s dive into the best practices for flying safely!
Always Follow Local Regulations
Check and follow your area’s rules for flying drones. This includes registering your drone if needed and staying away from restricted areas. By following these regulations, you help keep flying safe and legal. These rules are designed to protect people, property, and airspace. Always be aware of and obey the local rules to ensure that you fly your drone responsibly and without any problems.
Keep The Drone Within Your Line Of Sight
Always make sure you can see your drone while it’s flying. This helps you stay in control and avoid running into things like trees or buildings. Keeping the drone in view is especially important in crowded or busy places. It helps you react quickly if something goes wrong and keeps your flight safe. Remember, seeing the drone helps you guide it safely and enjoy flying without any trouble.
Avoid Flying Near Airports, Crowded Areas, And Restricted Zones
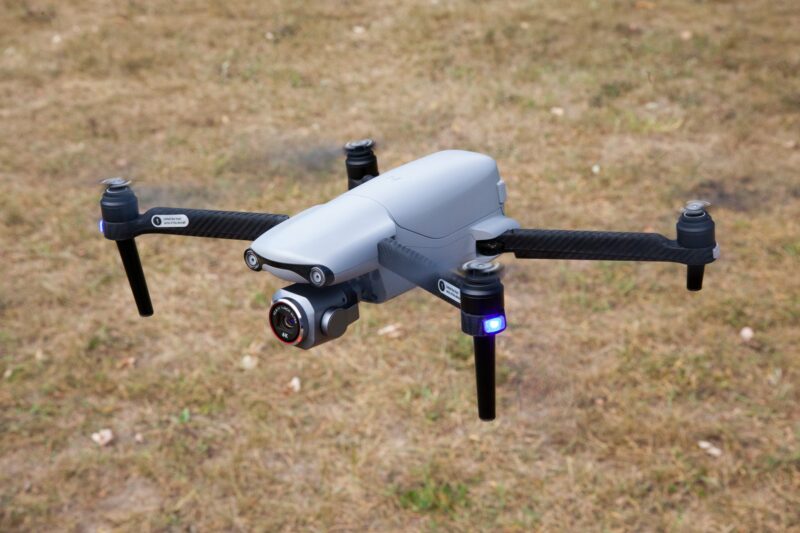
Don’t fly your drone close to airports, busy places with lots of people, or any areas where drones are not allowed. These spots can be dangerous for your drone and can also cause problems for others. Keeping your drone away from these places helps ensure everyone’s safety and avoids accidents. Always check where you’re flying to make sure you’re in a safe and allowed area.
Monitor Battery Levels To Ensure Safe Return And Landing
Keep an eye on your drone’s battery level while flying. When the battery gets too low, it can run out of power and cause the drone to crash. By checking the battery regularly, you can make sure there’s enough power to return and land the drone safely. This practice helps prevent sudden power loss and keeps your drone in good condition for future flights. Always land the drone before the battery gets too low.
FAQs
1. How Do I Calibrate The Compass On My Vivitar Drone?
To calibrate the compass, turn on the drone and the controller. Place it on a flat surface and open the Vivitar app. Follow the app’s instructions to move the drone in a figure-eight pattern. It helps align the compass for accurate flight. Ensure you’re in an open area away from metal objects.
2. How Do I Fix Flight Stability Issues With My Vivitar Drone?
To fix flight stability issues, ensure the drone is properly calibrated. Check that the propellers are secure and free from damage. Ensure the battery is fully charged. Avoid flying in strong winds or near large metal objects. Regularly inspect and clean the drone to keep it in good condition.
3. What Is Waypoint Navigation On A Vivitar Drone?
Waypoint navigation allows your Vivitar drone to fly along a path you create. You use the app to set points on a map, and the drone will automatically travel from point to point. This feature helps you capture videos or explore areas easily without needing to control the drone all the time.
Conclusion
Flying a Vivitar drone can be a lot of fun and very exciting when you know what you’re doing. This guide helps you understand how to set up your drone, fly it, and keep it in good shape. Always start by unboxing and setting up your drone properly.
Follow all safety rules and local laws to avoid trouble. Regularly check your drone’s parts and battery to keep it working well. By taking these steps, you can enjoy many safe and successful flights. Remember, being careful and prepared will help you make the most of your drone adventures!