
Table of Contents
Preparing A Photo
Preparing A Photo: Are you looking to publish a photo online or in print? Preparing a photo for publication is a crucial step that can make or break the quality of your final product. In this comprehensive guide, we’ll walk you through the essential steps to prepare your photo for publication. From editing and resizing to optimizing sharpness and creating an edge mask, we’ll cover everything you need to know to achieve professional-grade results. So, let’s get started!
Introduction to Preparing A Photo
Preparing a photo for publication involves several crucial steps that can improve the final product’s quality. Whether you’re publishing a photo online or in print, it’s essential to ensure that the image is edited, resized, and optimized for sharpness and clarity. By following these steps, you can enhance the photo’s visual appeal and make it stand out to your audience.
Editing the Photo

Before you start preparing a photo for publication, it’s essential to edit the image. This can involve leveling out the horizon, removing distortions, and making color corrections. There are several tools available that can help you edit your photo, such as the retouchme.com/remove-glare-from-photo-app. This app can remove the shine from your skin and touch up other imperfections quickly and easily.
Resizing the Photo
The size of the photo is a crucial factor when preparing a photo for publication. Many sites that allow users to publish their photos have restrictions in terms of file format, weight, and pixel size. It’s essential to ensure that your photo meets these requirements to ensure that it’s easy to view on any screen size. Typically, the larger side of the picture should not exceed 900 pixels to make the picture easier to view.
To resize your photo, you can use a photo editor such as Photoshop. Use the function “Resize” (names may vary depending on the program and its version) to set the desired values in pixels on one or both sides. If the original image has a horizontal orientation, it is recommended to use proportional reduction, setting the value only for one side. Otherwise, the image will have serious distortions. Check the “Don’t zoom in” box, if there is one, and save the result. If you press CTRL+ALT+0, you will be able to evaluate the photo at 100% zoom.
Optimizing Sharpness
Optimizing sharpness is another crucial step when preparing a photo for publication. Reducing sharpness makes the picture less detailed, and the image starts to look blurry and loses its expressiveness. To improve the perception of a photo, you can apply the “Smart Sharpness” option. In the main settings of the filter, set the effect of 500%, the radius of 0,2 pix, “Remove Blur at shallow depth” and check the box “Sharper”. Save the result.
Next, open the advanced settings of the filter, and in the tab “Shadow” set 0 for attenuation, 100% in width of tonal range, and 1 pix for radius. On the tab “Light” in all items put 100%, set the radius of 1 pix, and save the result. The photo looks much better, but it also seems to be more grainy. Let’s soften the light and dark edges.
Creating an Edge Mask
Creating an edge mask is another essential step when preparing a photo for publication. As a selection, load the most contrasting channel (ALT+CTRL+5). The image should get a copy of the layer associated with the blue channel mask. For the mask, select the “Stylization” option, then “Edge Selection”. Invert the image with CTRL+I (the edges should become white). After that, apply “Gaussian Blur” to the mask. The radius is selected individually for each image, usually 4-5 pix. Let’s save the result and switch to the main image to evaluate the work. The only thing left is to adjust the transparency of the layer.
Saving the Photo
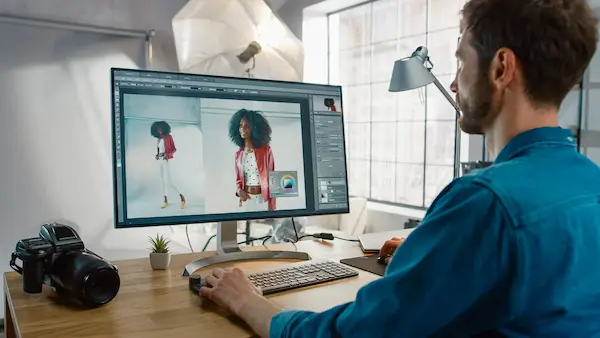
When saving the final file, choose the “Save for Web” option. Preferably, choose JPEG format, with quality from 75 to 100. In Adobe Photoshop, you can see in advance how the picture will look in the browser. To do this, the saving window has a button “Preview”. If you are satisfied, you can click “Done”. All that’s left is to upload the image to the selected site.
Other Tips and Tricks
In addition to the essential steps listed above, there are several other tips and tricks you can use to prepare your photo for publication. These include:
- Cropping the image: This can help you focus on the subject and remove any distractions from the background.
- Adjusting the brightness and contrast: This can help enhance the photo’s overall quality and make it more visually appealing.
- Using filters: Filters can add a unique touch to your photo and help it stand out from the rest.
- Using textures: Textures can add depth and dimension to your photo and make it more visually interesting.
Conclusion
Preparing a photo for publication requires several crucial steps that can improve the final product’s quality. By editing the photo, resizing it, optimizing sharpness, and creating an edge mask, you can enhance the photo’s visual appeal and make it stand out to your audience. In addition, there are several other tips and tricks you can use to prepare your photo for publication, including cropping the image, adjusting brightness and contrast, using filters, and using textures. By following these steps and tips, you can achieve professional-grade results and create a photo that truly stands out.