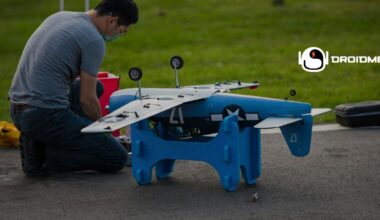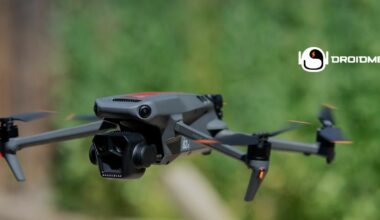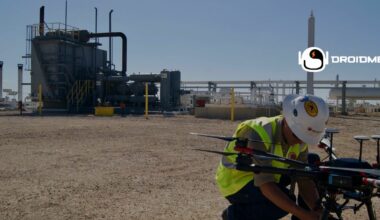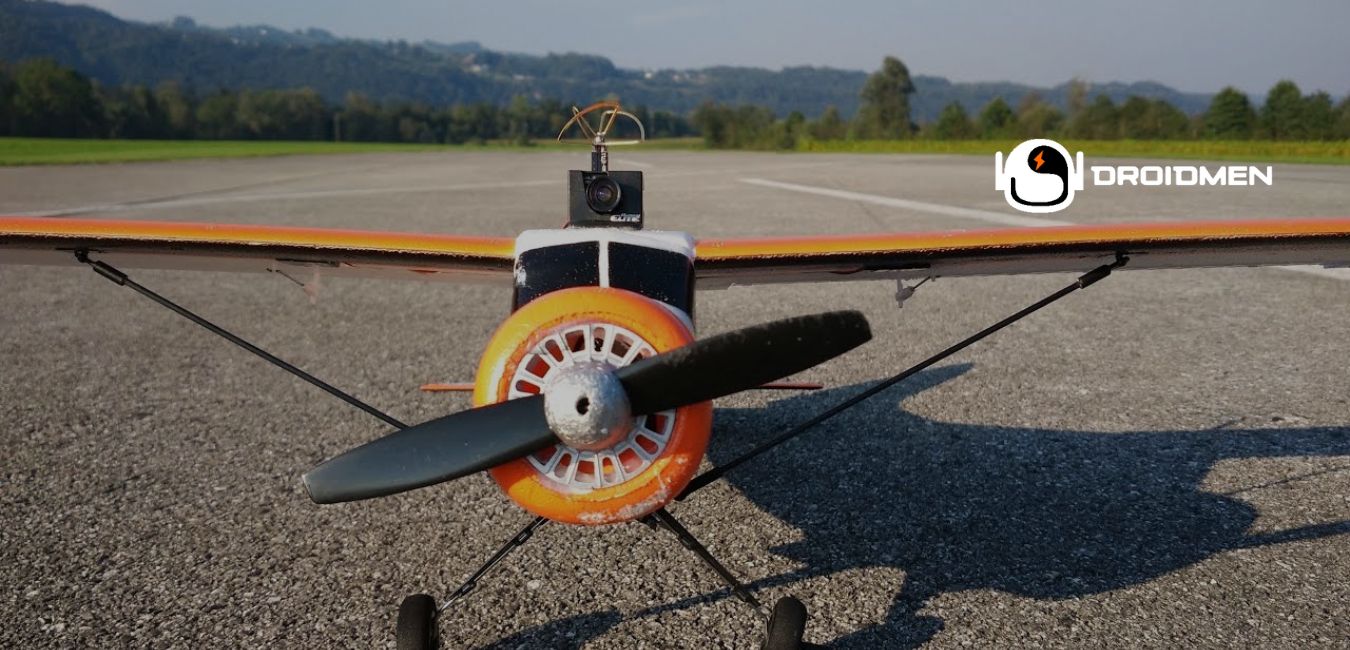
Ready to take to the skies? Want to see the world from a bird’s eye view? Learning how to get started with FPV RC planes is what you need. FPV means First Person View. You see what the plane sees.
It’s like you’re in the cockpit flying! It’s not just a toy, it’s an adventure. Think about zooming over trees, around buildings, and even racing with friends. All you need is an RC plane with a camera and some gear.
Table of Contents
Understanding FPV RC Planes

What Is FPV (First-Person View)?
FPV stands for First-Person View. With FPV, you see the view from the plane as you fly it. You wear special goggles or look at a screen to see a live video feed from a camera on your plane.
It’s like being in the cockpit, but your feet stay on the ground.
Components Of An FPV RC Plane Setup
To fly an RC plane, you need some basic parts. The RC plane is the craft you’ll pilot. A small, lightweight camera on the plane captures the view. A video transmitter sends this view to your goggles or screen.
You also need a remote control to guide the plane.
Advantages Of FPV Flying
FPV flying gives you a real-life flying experience. You see obstacles and can avoid them. This adds a layer of safety and control. FPV also lets you explore places from the sky and race through exciting courses.
It’s a hobby that brings adventure and joy.
Choosing The Right FPV RC Plane
Thinking about which FPV RC plane is best for you? Let’s consider the 3 factors.
Beginner-Friendly Models
Start with a model that’s easy to handle if you’re new to FPV flying. Brands like HobbyZone and E-flite offer planes with beginner modes. These modes help you control the plane better and make flying less tricky.
The features usually include auto-leveling and lower speeds. This makes your first flights fun and less stressful.
Types Of FPV RC Planes (Fixed Wing Vs. Multirotor)
There are 2 main types of FPV RC planes: fixed-wing and multirotor.
Fixed-Wing: These planes look like traditional airplanes. They are good for long flights and can carry more weight. But they need more space to take off and land.
Multirotor: These are like helicopters with more than one rotor. These FPV RC planes can hover in one place and are easier to control in small spaces.
Choose based on where you’ll fly and what kind of flying you want to do.
Assessing Skill Level And Experience
Before you buy, think about your skill level. Are you a newbie or have you flown before? Start with a beginner-friendly model if you’re new. You want a plane with more features if you have some experience.
Always read reviews and ask for advice before making a choice.
Picking the right FPV RC plane is the first step to a rewarding flying experience. Take your time, do your homework, and you’ll find a plane that fits you like a glove.
Essential Equipment And Tools
The 5 essential equipment and tools that need to be considered are discussed below:
FPV Goggles Or Headset
FPV goggles or a headset let you see what your plane sees. They show you a live video feed from the plane’s camera. Quality matters here. Better goggles give you a more transparent, brighter view.
This helps you fly better and enjoy the experience more.
Camera And Video Transmitter
The camera captures the view from your plane. It’s usually small and lightweight. The video transmitter sends this video to your goggles or screen. Make sure the camera and transmitter work well together for the best video quality.
Flight Controller With OSD (On-Screen Display)
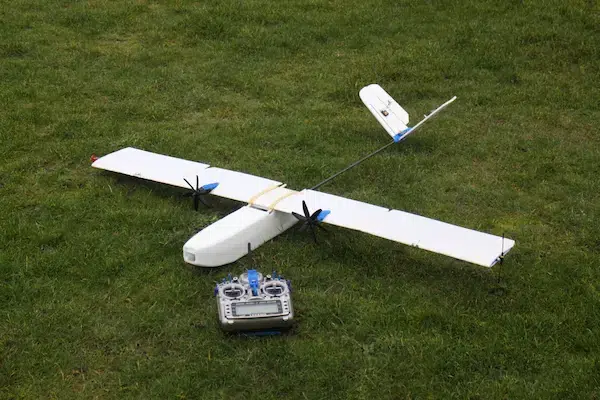
A flight controller is like the brain of your plane. It helps keep the plane stable and flying smoothly. Some flight controllers come with an On-Screen Display (OSD). OSD shows you useful info like altitude and battery level right on your FPV screen.
Remote Control Transmitter
You’ll need a remote control to steer your plane. Get one that feels comfortable in your hands. Many have special features like different flying modes. This lets you switch from easy to more advanced flying as you get better.
Batteries And Chargers
Batteries power your plane, and chargers keep them ready to go. Always carry extra batteries to extend your flying time. Look for a charger that can handle multiple batteries to save time.
Having the right batteries and chargers keeps your plane in the air and the fun going.
Building And Setting Up Your FPV RC Plane
Now that you know what you need, it’s time to build your FPV RC plane. Don’t worry, we’ll guide you through the process in 4 steps.
Assembling The Airframe
The airframe is the body of your plane. Most kits come with a manual that shows you where each piece goes. Follow the guide and use the right tools. Make sure all parts fit tightly. A well-built airframe flies better and lasts longer.
Installing The FPV Camera And Transmitter
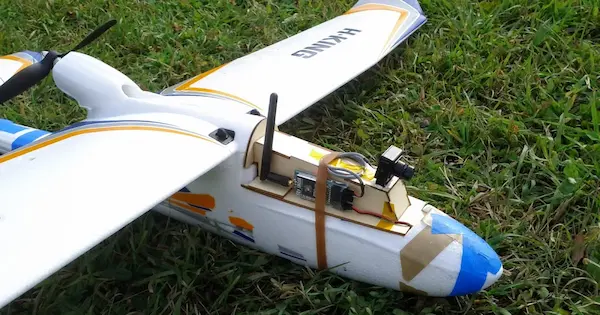
Next, add the FPV camera and the video transmitter to your plane. The camera usually goes in the front. The transmitter can sit towards the back. Use strong, but light materials like zip ties or Velcro to hold them in place.
Make sure they are secure so they won’t fall off during flight.
Wiring And Connecting Components
Now let’s wire it all together. Connect the camera to the video transmitter. Then link the transmitter to the flight controller. Use color-coded wires to make it easy. Keep wires tidy to avoid tangles. Tidy wires make for a safer and smoother flight.
Flight Controller Configuration And Calibration
Last step! The flight controller needs some setup. Connect it to a computer and follow the software guide. This sets up how your plane will behave in the air.
Once configured, test it with a short flight to make sure it works as expected.
Building and setting up your FPV RC plane is like piecing together a puzzle. But once you get it right, the sky’s the limit!
FPV System Installation And Configuration
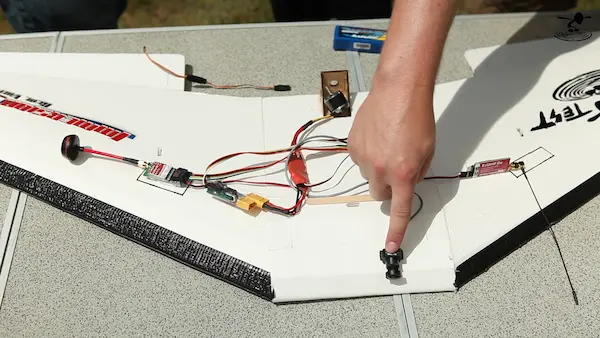
You’re close to taking off! Now, let’s focus on installing and setting up the FPV system on your RC plane in 4 steps.
Mounting The Camera
First, you’ll mount the camera in the front of your plane. This lets you see where you’re going. Make sure the camera is secure. Use light but strong materials like zip ties or Velcro to hold it in place.
Positioning The Video Transmitter
The video transmitter sends the camera’s view to your goggles. Place it towards the back of the plane. Keep it away from other electronics to avoid interference. Secure it well so it stays in place during your flights.
Adjusting Camera Angle For Best View
The angle of your camera matters. Too low, and you’ll see too much of the ground. Too high, and you’ll see too much sky. Find a middle angle that shows a bit of both. This helps you fly and navigate better.
Configuring OSD Information
OSD stands for On-Screen Display. This shows helpful info like your height and speed on your FPV screen. To set it up, connect your flight controller to a computer. Use the software to pick what info you want to see.
Preparing For Flight
You’ve built your plane and set up the FPV system. Now it’s almost time to fly! Before you take off, there are 4 more steps to follow.
Range And Frequency Considerations
The range is how far your plane can fly from you. Make sure to pick a frequency that matches your video transmitter and remote. Use the manual to set these correctly. A stable frequency means a clearer view and better control.
Battery Installation And Balance
Insert your battery into the plane. Make sure it’s secure and won’t move during flight. The battery’s position can affect how the plane flies. The aircraft will tip if it’s too far in front or back. Adjust the battery until the plane feels balanced.
Checking Control Surfaces And Motors
Before you fly, check the control surfaces like wings and tail. They help steer your plane. Make sure they move easily and return to a neutral position. Test the motors to see if they spin freely and listen for any odd sounds.
Calibrating Gyro And Accelerometer
The gyro and accelerometer help keep your plane stable. They need to be calibrated before your first flight. Connect your flight controller to a computer. Follow the on-screen steps to calibrate. After, do a short test flight to make sure everything works.
First Flight And FPV Experience
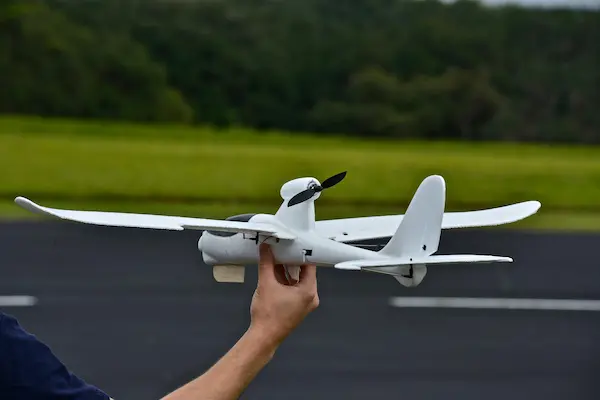
This is it—the time for your FPV RC plane’s maiden flight has finally arrived! Your anticipation is high, and so is ours. Let’s have a look at the 4 vital steps for a successful, safe, and utterly thrilling first-time flight.
Safety Precautions And Flight Area Selection
Safety must always be your first concern. Choose an open area free from obstacles, crowds, and buildings to ensure a safe flight environment. This will provide ample space for you to maneuver and comply with safety rules.
Putting On FPV Goggles And Getting Immersed
It’s time to experience the magic of first-person view. Put on your FPV goggles and make sure they fit snugly. With these goggles on, you’ll see exactly what your onboard camera sees, immersing you in the flight as if you’re in the cockpit.
Taking Off, Flying, And Gaining Confidence
The moment to lift your plane off the ground is here. Point your aircraft into the wind for a smoother takeoff and gently increase the throttle. Initially, stick with simple maneuvers. Each moment in the air builds your confidence for future flights.
Navigating And Landing With FPV
Now comes the fun part—flying high and exploring the sky! Utilize the FPV perspective to navigate and get a real pilot’s view of the world.
When it’s time to return to Earth, reduce speed and guide your plane for a smooth and controlled landing.
Improving Your FPV Skills
You’ve had your first flight, but the journey doesn’t stop there! Getting better at FPV flying is the next step. Let’s consider the 3 tips.
Practice Makes Perfect: Gradual Progression
You get better with each flight. Start by flying in a straight line, then try some turns. Once you’re comfortable with that, move on to more complex moves. The key is to go step by step.
The more you fly, the better you’ll get.
Learning Aerobatics And Maneuvers
Ready to have even more fun? Learning aerobatics is the next step. Try simple tricks like loops or rolls. Practice these in an open area with lots of space. Always make sure you’re in a safe spot before you start your tricks.
Dealing With Different Weather Conditions
Flying in different weather is a way to challenge yourself. But be careful. Windy days make flying harder. Sunny days are usually the best for flying. It’s better to wait for another day to fly if it’s rainy or super windy.
Conclusion
Wow, what a journey we’ve been on! From picking your first FPV RC device to mastering the skies, you’re now set for endless adventures up above. Remember, it’s all about taking small steps and enjoying the ride.
Don’t worry even the best pilots started as beginners if you’re not an expert right away. Each flight makes you better, it’s just the beginning!
So go ahead, put on those FPV goggles, and take that plane for a spin. You’re ready to soar!