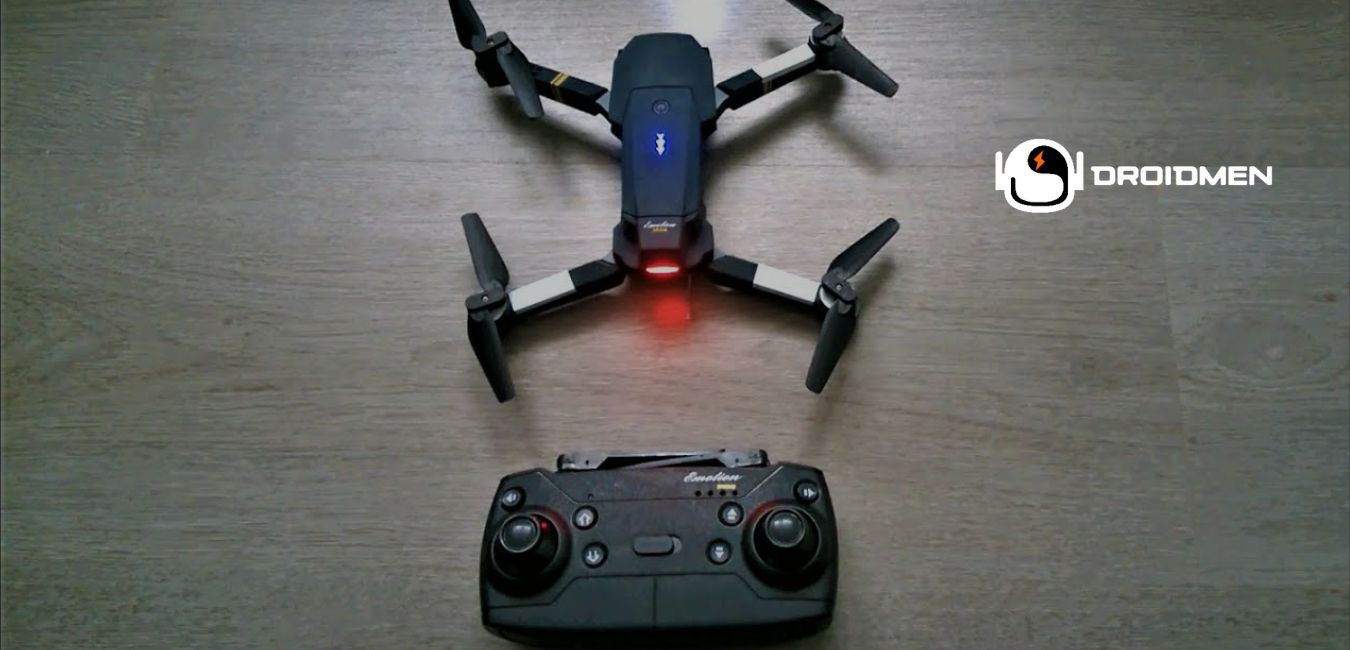
Remote ID errors in drones can be frustrating. It can prevent you from flying legally. Remote ID systems are crucial for compliance with regulations and to ensure safety during flight. Learn how to fix drone remote ID errors in this complete article.
Update your drone’s firmware to ensure it works with the Remote ID system. Check and set up Remote ID settings correctly in the app. Look over the GPS and transmitter for issues and fix connection problems. Now, make sure your drone follows local rules. Do it to fly smoothly without errors.
This guide will help you understand common causes of Remote ID errors. It will also provide step-by-step solutions to fix them effectively.
Table of Contents
Key Takeaways
- Check Firmware Updates: Ensure your drone’s firmware is updated to the latest version for proper Remote ID functionality.
- Verify Remote ID Settings: Double-check that your Remote ID settings are correctly configured and enabled in your drone’s app.
- Inspect Hardware Connections: Examine the Remote ID module or built-in system. Do it for loose wires or physical damage.
Common Causes Of Remote ID Errors
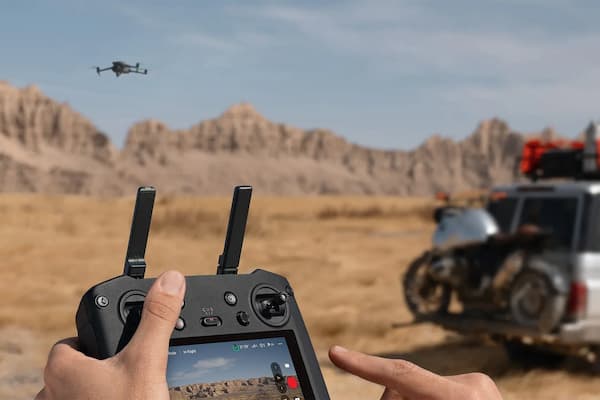
Remote ID errors can happen for several reasons, making it hard for your drone to fly correctly. These issues often come from outdated software, wrong settings, damaged parts, weak GPS or connections, or not following local rules. Understanding these causes helps you fix problems easily.
Outdated Drone Firmware
Drone firmware is the software that controls how your drone works. When the firmware is old, the Remote ID system cannot work properly, causing errors. Updating the firmware is important because it fixes problems, adds new features, and ensures your drone follows the latest rules and regulations.
Incorrect Remote ID Setup
Setting up the Remote ID on your drone requires accurate information. When you enter wrong details, like the pilot’s name or registration number, or leave important fields empty, it can cause errors. Double-checking your entries during the setup ensures the system works properly and avoids problems when flying your drone.
Malfunctioning Or Damaged Hardware
The hardware in your drone, like the GPS module or Remote ID transmitter, plays a key role in its performance. When these parts stop working or get damaged, the drone cannot send the correct signals, causing Remote ID errors. Regularly checking and fixing any broken parts can prevent these problems.
Connectivity Or GPS Issues
The Remote ID system relies on a strong GPS signal and clear connections to work properly. When the GPS signal is weak or other devices cause interference, the system can fail, and the drone won’t share its location accurately. To avoid this, fly in open areas with good GPS coverage and minimize nearby interference.
Compliance With Local Regulations
Different areas have specific rules for how drones must use Remote ID. When your drone doesn’t follow these rules, it can cause errors or stop you from flying. To fix this, check the regulations for your location. Then, ensure your drone is correctly set up to meet those requirements.
Steps To Fix Remote ID Errors
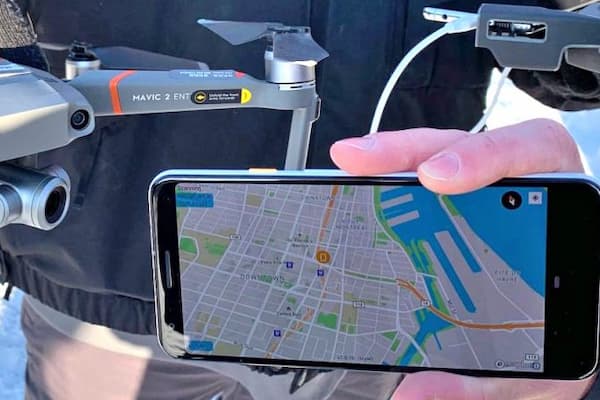
Fixing Remote ID errors involves a few simple steps to ensure your drone works properly. You’ll need to update the firmware, check and set up Remote ID settings, inspect the hardware for issues, resolve any connectivity problems, and make sure your drone follows local rules. Each step is easy to follow!
Step 1: Update Drone Firmware
Updating your drone’s firmware is the first step to fixing Remote ID errors. Firmware updates improve how your drone works, fix bugs and ensure it meets the latest regulations. This process is simple and ensures your drone’s Remote ID system operates correctly for a safe and legal flight.
Check For Firmware Updates
To check for firmware updates, open your drone’s app or software on your device. Most apps will alert you when an update is available. Look for the “Firmware Update” section in the app, and follow the instructions to download and install it. Keeping your firmware updated ensures your drone works properly.
Use The Drone’s App Or Software
To update your drone, open its app or software and follow the step-by-step instructions. The app will guide you through downloading and installing the update. Before you start, make sure your drone’s battery is fully charged to avoid interruptions during the process. This keeps your drone running smoothly.
Restart After Updating
Once the update is complete, restart your drone by turning it off and back on. This step ensures the new changes are applied correctly, and the Remote ID system works without errors. Restarting allows the drone to fully reset. It also lets the drone operate smoothly with the updated firmware in place.
Step 2: Verify Remote ID Settings
Verifying your drone’s Remote ID settings is essential to fix errors and ensure smooth operation. This step involves checking the settings in the app, entering the correct pilot and drone information, and confirming that everything is saved properly. It’s a simple way to avoid problems during your flight.
Access Remote ID Settings In The App
To access Remote ID settings, open your drone’s app and look for options like “Aircraft” or “Compliance” in the menu. These sections usually contain the Remote ID settings. Tap on them to review and adjust the details as needed. This helps ensure your drone is set up correctly for safe flying.
Input Accurate Pilot And Drone Details
When setting up Remote ID, make sure to enter accurate details like your drone’s serial number, your pilot information, and your registration ID. These details help identify your drone correctly. Double-check everything before saving to avoid errors that could prevent your drone from flying properly.
Save Changes And Confirm Setup
Once you’ve entered all the necessary details, click the save button in your drone’s app to store the information. After saving, review the setup to confirm that everything is correct and properly configured. This step ensures your drone’s Remote ID system works smoothly and without any errors.
Step 3: Inspect Hardware Components
Inspecting your drone’s hardware components is an important step in fixing Remote ID errors. This includes checking parts like the GPS module and Remote ID transmitter to ensure they are working properly. Identifying and fixing damaged or faulty hardware helps your drone operate smoothly and without interruptions.
Check GPS Module Functionality
The GPS module helps your drone find its location by connecting to satellites. To check whether it’s working, turn on your drone and see if it can quickly lock onto satellite signals. When the GPS takes too long or fails to connect, it can be faulty and will need repair or replacement.
Inspect Remote ID Transmitter
The Remote ID transmitter sends important signals about your drone’s location and identity. Check it carefully for any visible cracks, loose wires, or other damage. When it’s not securely connected or looks broken, it cannot work properly. Fixing or replacing the transmitter can solve signal issues and keep your drone functioning well.
Replace Damaged Parts (If Needed)
When you notice damaged parts, like the GPS module or transmitter, replace them with original parts from the drone’s manufacturer. Using the correct parts ensures your drone works as it must and avoids further issues. Replacing damaged hardware restores proper functionality and helps keep your drone safe to fly.
Step 4: Resolve Connectivity Issues
Resolving connectivity issues is key to fixing Remote ID errors and ensuring smooth drone operation. Problems like weak GPS signals or unstable Wi-Fi or Bluetooth connections can cause disruptions. By identifying and fixing these issues, your drone can send accurate location data and perform as expected.
Ensure Stable GPS Signal
To keep a stable GPS signal, fly your drone in open spaces where the sky is clear. Avoid areas with tall buildings, thick trees, or other structures that can block the signal. A strong GPS connection helps your drone track its location accurately and prevents errors with the Remote ID system.
Test Wi-Fi Or Bluetooth Connections
When your drone uses Wi-Fi or Bluetooth for Remote ID, check that the connection is stable. Turn off nearby devices that could interfere, like other wireless gadgets. Make sure your drone is within range of its controller or connected device. A strong connection helps the Remote ID work correctly.
Avoid Flying In Areas With Interference
To avoid signal problems, don’t fly your drone in places with interference, like near power lines, crowded cities, or areas with lots of wireless devices. These can disrupt your drone’s GPS or communication signals. Flying in clear, open spaces ensures a smoother connection and prevents Remote ID errors.
Step 5: Confirm Local Compliance
Confirming local compliance is important to ensure your drone follows the rules in your area. This step involves checking local regulations, ensuring your Remote ID setup meets those requirements, and updating your drone’s registration if needed. Following these rules helps you fly legally and without errors.
Understand Your Region’s Regulations
Different areas have specific rules for how drones must use Remote ID. Take time to research the regulations in your region by visiting official websites or checking with local authorities. Knowing these rules ensures your drone is set up properly, helping you avoid issues and fly legally and safely.
Ensure Remote ID Matches Requirements
Make sure your drone’s Remote ID system follows the rules in your area. Check that all settings, like registration details and signal transmission, match the local requirements. Adjust the setup when needed to meet these standards. This helps you avoid problems and ensures your drone is ready to fly legally.
Update Registration (If Necessary)
When your drone’s registration information, like your address or ownership details, has changed, update it as soon as possible. You can do this through the official registration website or app. Keeping your registration up-to-date ensures you stay compliant with local rules and avoids any issues during your flights.
Advanced Troubleshooting Options
When basic fixes don’t solve Remote ID errors, advanced troubleshooting can help. These methods include resetting your drone, testing replacement parts, using diagnostic tools, or reaching out to the manufacturer’s support team. These steps can address deeper issues and get your drone working properly again.
Perform A Factory Reset Of The Drone
A factory reset erases all custom settings on your drone and restores it to its original setup. This can fix stubborn problems, including Remote ID errors, by clearing any software glitches. Before resetting, back up important settings if possible. Use this option only when other fixes don’t work.
Test With A Different Remote ID Module
Some drones let you use external Remote ID modules. When you’re having issues, try using a different module to see if the problem is with the original one. This helps identify whether the module is faulty. Make sure the new module is compatible with your drone for accurate testing and results.
Use Diagnostic Tools For Deeper Analysis
Many drone manufacturers offer special diagnostic tools to help find and fix deeper problems. These tools can analyze your drone’s system and pinpoint the cause of errors, like issues with the Remote ID or other hardware. Follow the instructions provided by the manufacturer to use these tools for a detailed check.
Contact The Manufacturer’s Support Team
When your drone still has problems after trying all fixes, contact the manufacturer’s support team. They have experts who can guide you through solving complex issues, including Remote ID errors. Provide them with details about your drone and the problem. Their professional help can ensure your drone works correctly.
Tips To Prevent Future Errors
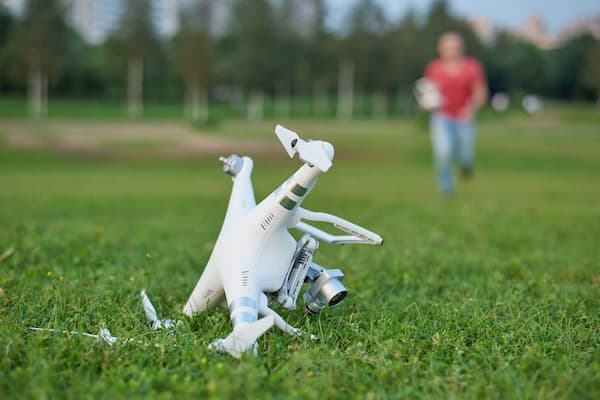
Preventing future errors helps keep your drone working smoothly and avoids interruptions during flights. Simple tips like updating firmware regularly, checking your drone before flying, protecting it from damage, and flying in clear, open areas can reduce problems and ensure your drone operates safely and efficiently.
Regularly Update Firmware And Apps
Keep your drone’s firmware and apps updated to ensure they work smoothly and stay compatible with new features. Updates fix bugs, improve performance, and help your drone meet the latest regulations. Check for updates regularly in the app and install them to avoid any problems during your flights.
Conduct Pre-Flight System Checks
Before flying your drone, take a few minutes to check the Remote ID system and hardware. Make sure the GPS, transmitter, and other parts are working properly. Look for any errors or damage that can affect your flight. These quick pre-flight checks can help you catch problems early and avoid issues.
Avoid Physical Damage To The Drone
Take good care of your drone to keep it safe. Always handle it gently and store it in a protective case when not in use. This helps prevent scratches, cracks, or damage to important parts like the GPS or Remote ID transmitter. Protecting your drone ensures it works properly for every flight.
Fly In Open, GPS-Friendly Areas
Fly your drone in wide, open spaces where the sky is clear, and GPS signals are strong. Avoid areas with tall buildings, thick trees, or power lines that can block signals or cause interference. Choosing GPS-friendly locations ensures your drone operates smoothly and avoids problems like Remote ID errors.
FAQs
1. Can Outdated Mobile Apps Cause Remote ID Errors?
Yes. Outdated mobile apps can cause Remote ID errors. They control drone settings, including Remote ID. When not updated, they can miss important features or rules. Keeping your app updated fixes bugs ensures compatibility, and helps your drone’s Remote ID system work properly for safe flying.
2. Can I Fly My Drone Without Resolving The Remote ID Error?
No. You cannot fly your drone without resolving the Remote ID error. Remote ID is required to comply with safety regulations and track your drone’s location. Ignoring the error can result in legal consequences or restricted flights. Fix the issue to ensure safe and compliant drone operations.
3. Are Third-Party Apps Reliable For Fixing Remote ID Errors?
Yes, but only sometimes. These apps can help fix Remote ID errors, but their reliability depends on their safety and accuracy. To avoid mistakes, always choose apps recommended by your drone’s manufacturer. Official apps are safer, ensure accurate fixes, and help the Remote ID system work well.
Conclusion
Fixing a drone Remote ID error requires checking firmware, inspecting hardware, and ensuring settings are correct. Start by updating your drone’s firmware to the latest version to avoid compatibility issues. Check the Remote ID settings in the app, making sure all details are accurate and saved.
Inspect the hardware, such as the GPS module and Remote ID transmitter, to ensure they are working properly and replace damaged parts if needed. Resolve any connectivity issues by flying in open areas with strong GPS signals and avoiding interference.
By following the steps in this guide, you can fix most Remote ID errors and fly your drone safely while meeting all regulations. Regular maintenance, like keeping firmware updated and performing pre-flight checks, helps prevent future problems. With these tips, you’ll ensure your drone operates smoothly and without interruptions.