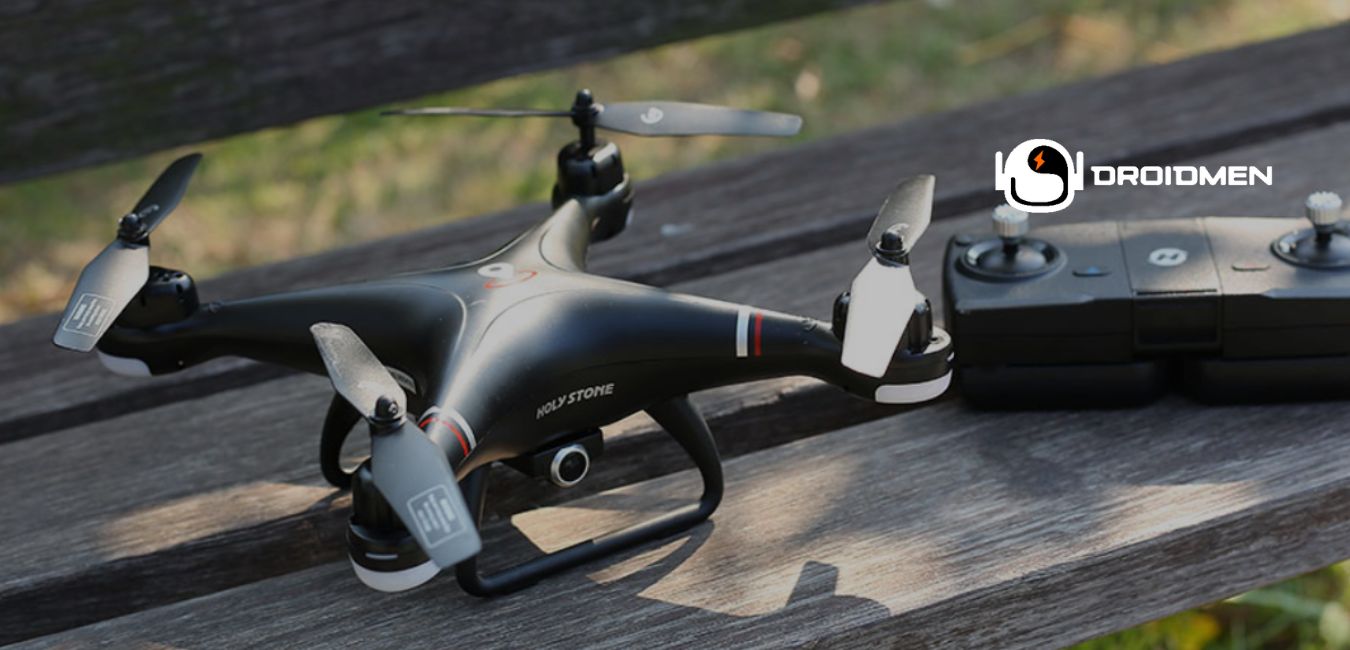
Are you ready to learn “How to pair Holy Stone drone to controller”? This simple process will get your drone connected and prepared to fly in no time. If you’re new to drones, don’t worry; pairing is quick and doesn’t require any extra tech.
First, power on the drone and controller. Hold the controller’s lock button until you see the lights flash, indicating pairing mode. Next, press the drone’s power button and wait for both devices to connect. The lights will turn solid once successfully paired, confirming a stable connection.
Let’s dive into each step to ensure a strong connection. Continue reading to make your flying experience smooth and stress-free!
Table of Contents
Key Takeaways
- Power On Both Devices: Ensure the Holy Stone drone and controller are fully charged and powered on for smooth pairing.
- Use Auto-Pairing Mode: Activate pairing mode on the controller, which typically auto-connects to the drone’s frequency signal.
- Check Indicator Lights: Confirm a successful connection by checking for stable LED lights on both the controller and drone, indicating readiness.
Preparing Your Drone For Pairing
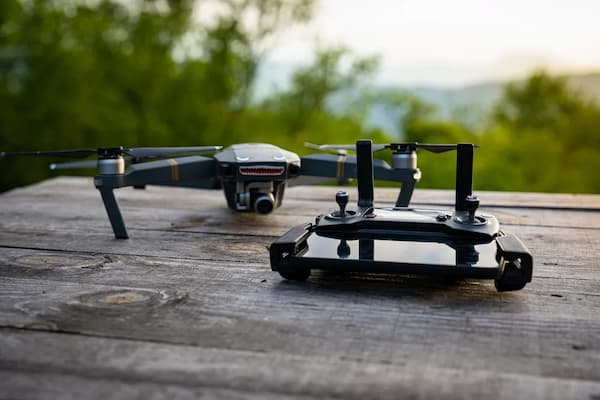
Follow a few simple, essential steps to pair your Holy Stone drone. Preparing the drone and controller ensures a stable, disruption-free flight. Following these steps will set you up for a reliable, easy-to-manage connection.
Ensure The Battery Is Fully Charged
Before pairing, make sure the drone’s battery is fully charged. Start by connecting the drone’s battery to its charger using the cable and adapter provided by the manufacturer. A small LED on the charger shows the charging status. When it turns solid, your battery is ready to go.
A full battery is crucial. A low battery can disrupt pairing or cause your drone to lose connection mid-flight. Also, a charged battery lets you explore and test your drone more after connecting it.
Power On The Drone Properly
Powering on the drone correctly is key to successful pairing. Find the power button on the drone’s body. Press it until the LED lights flash. Flashing lights indicate that the drone is in pairing mode and ready to connect.
If you don’t see the lights flashing, power off the drone, wait a few seconds, and try again. Starting in pairing mode is essential. It signals to the controller that the drone is ready to connect, making it quicker and easier to establish a stable connection.
Check The Controller’s Battery Level
A full battery in your controller is just as important as the one in the drone. Before pairing, check the controller’s battery level. An LED or battery icon usually shows it. Low controller batteries can weaken the connection.
This may cause disconnections during flight. To avoid this, replace or recharge the batteries in the controller if needed. This check ensures a strong, stable connection with the drone during your flight.
Find An Open Area For Pairing
Selecting the right location for pairing makes a significant difference. Find an open area with few obstacles, like a large field or park. It should be away from buildings, trees, and metal structures. These objects can block the signal between your controller and the drone.
This may cause connection issues or delays. A clear, open space lets the controller’s signal reach the drone, creating a more reliable connection. Also, an open area is a safe place to test your controls and the drone’s movements after pairing.
Step-By-Step Guide To Pair Holy Stone Drone To Controller
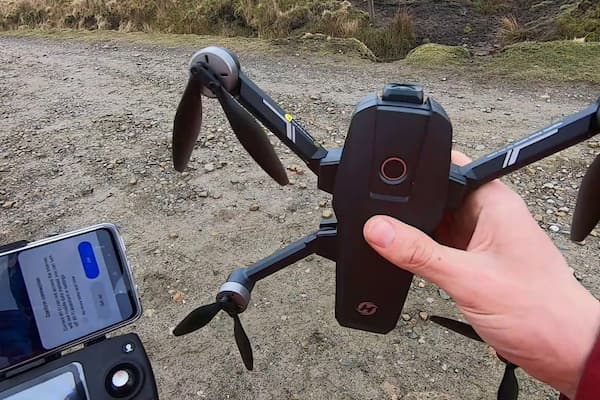
Follow these steps to pair your Holy Stone drone to its controller successfully. Each step is essential for establishing a solid connection and preparing for a smooth flight.
Step 1: Turn On The Drone
Begin by powering on the drone. Locate the power button on the drone body and press it until the LED lights start blinking. Blinking lights indicate that the drone is ready to connect. This first step puts the drone into pairing mode, making it visible to the controller.
Step 2: Power On The Controller
Next, power on the controller by pressing its power button. Make sure it has a full battery to maintain a steady connection. When the controller is on, it will begin searching for nearby devices to pair with, including your drone.
Step 3: Set The Controller To Pairing Mode
Now, put the controller in pairing mode. Many Holy Stone controllers automatically enter pairing mode after powering on, but if yours doesn’t, check the manual for instructions. Some controllers may require pressing and holding a specific button to enter pairing mode. In pairing mode, the controller actively searches for the drone’s signal.
Step 4: Wait For Led Lights To Sync
Watch the LED lights on both the drone and the controller. The lights will blink as they attempt to pair. Once the connection is established, the LED lights should switch from blinking to a steady glow, indicating a successful connection. If the lights continue to blink, the devices are still trying to pair.
Step 5: Test The Drone Controls
After the LED lights indicate a stable connection, test the controller’s controls to ensure everything responds appropriately. Gently push the joystick forward to see if the drone moves. This step confirms that the drone and controller are correctly paired and responsive.
Step 6: Re-Pair If Pairing Fails
If the pairing process fails and the lights continue blinking, turn off both the drone and the controller. Wait a few seconds, then repeat the steps from the beginning. Sometimes, signal interference or battery issues can cause initial pairing attempts to fail, so restarting can often resolve the issue.
Alternative Methods For Pairing
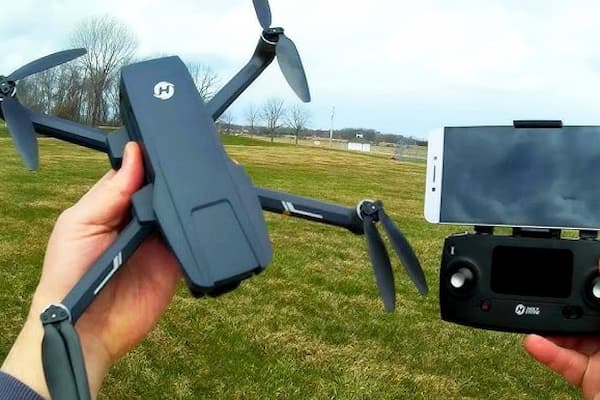
Try alternative methods if you have trouble pairing your Holy Stone drone with the controller. They can help establish a stable connection and ensure the drone and controller communicate properly.
Use The Holy Stone App For Pairing
Some Holy Stone drones connect through the Holy Stone app, which makes pairing easier and adds extra features. Download the app on your smartphone, turn on both the drone and the app, and follow the on-screen instructions for pairing.
The app often includes a pairing button or prompt that connects to the drone. This method can also allow you to access other settings and controls.
Pairing Via Wi-Fi Mode (If Applicable)
For certain Holy Stone models, pairing can happen through Wi-Fi mode. Enable Wi-Fi on your phone and connect to the drone’s Wi-Fi network listed in your settings.
Once connected, open the Holy Stone app, which may automatically detect and connect to the drone. This Wi-Fi method allows the app to control the drone directly and helps if the main controller faces connectivity issues.
Reset The Drone And Controller
If pairing fails, try resetting both the drone and controller. To reset, turn off the controller and the drone, then turn them back on. Some drones have a reset button or a quick sequence (such as pressing certain buttons) to initiate a fresh pairing.
A reset often clears any past connection errors, making it easier for the devices to pair from scratch.
Use A Different Controller (If Compatible)
In some cases, pairing issues come from the controller itself. If you have a compatible spare controller, try pairing it with the drone. Ensure both devices are compatible by checking the model number or user manual.
Switch on the new controller and follow the same pairing steps. A different controller can sometimes bypass issues like weak signals or button problems on the original controller.
Troubleshooting Common Pairing Issues
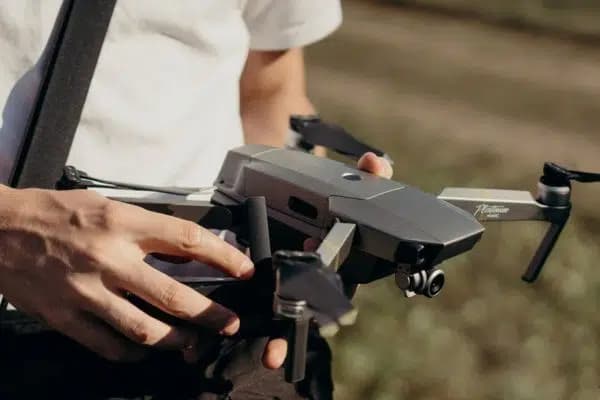
Sometimes, pairing a Holy Stone drone with its controller may not go as smoothly as expected. These issues can interrupt the setup, but fixing them is usually simple. Here’s how to troubleshoot common pairing issues and get your drone back in action.
Drone And Controller Not Syncing
When the drone and controller fail to sync, it often means they aren’t communicating. To fix this, turn off both devices. Turn on the controller first, then power on the drone. Wait a few seconds to allow them to reconnect.
If they still don’t sync, move to an open area, away from other devices that could cause interference. Restart the pairing process to ensure a stable connection.
LED Lights Not Indicating Pairing
The LED lights on the drone and controller provide important feedback during pairing. If the LED lights don’t blink or show steady colors, there could be a problem. First, check if both the controller and drone are charged.
Low battery levels can affect the LED signals. If the batteries are charged, restart both the controller and the drone. Begin the pairing steps again, watching the LEDs for any blinking patterns that signal a successful pairing.
Controller Not Responding
If the controller isn’t responding, it may have lost its link to the drone. Start by turning off both devices. Then, turn the controller on first, followed by the drone. This order can help re-establish the connection.
If the controller still doesn’t respond, check if the batteries need replacing. Weak batteries can cause the controller to malfunction. Replace batteries if needed, and try the pairing steps again.
Firmware Or Software Update Required
Occasionally, pairing issues arise from outdated firmware or software. Check the Holy Stone app or website for updates on your drone model. If an update is available, follow the instructions to install it on both the drone and controller.
Once updated, restart both devices and go through the pairing process again. An updated system often improves connectivity and responsiveness, making pairing smoother.
FAQs
1. Do I Need To Calibrate My Holy Stone Drone Before Pairing?
Yes, calibration is essential before pairing your Holy Stone drone to ensure accurate flight controls and stable operation. Calibrating the drone’s compass and gyroscope helps prevent drifting, interference, and potential connection issues, creating a smoother flying experience from the start.
2. Can I Pair My Holy Stone Drone With A Smartphone Instead Of The Controller?
Most Holy Stone drones require the controller for primary operation. While some models allow smartphone connectivity for live video feeds or basic functions, the controller is essential for full control. Check your specific model’s manual to confirm compatibility and connection options.
3. Do I Need Wi-Fi Or Bluetooth To Pair My Holy Stone Drone With The Controller?
No, Holy Stone drones typically don’t require Wi-Fi or Bluetooth for pairing. The controller uses a proprietary radio frequency (RF) signal, allowing you to connect directly to the drone without any external networks. This ensures a reliable and straightforward pairing process for remote control.
Conclusion
Pairing your Holy Stone drone with the controller is simple and takes just a few steps. First, make sure both the controller and drone are charged. Then, turn on the controller first, then power on the drone.
Wait until the lights stop flashing, which means they are connected. You’re now ready to fly! If pairing fails, turn both off and try again. Pairing doesn’t need Wi-Fi or Bluetooth, so you can connect anywhere.
Following these steps ensures a smooth connection every time, helping you get in the air fast and focus on enjoying your flight.