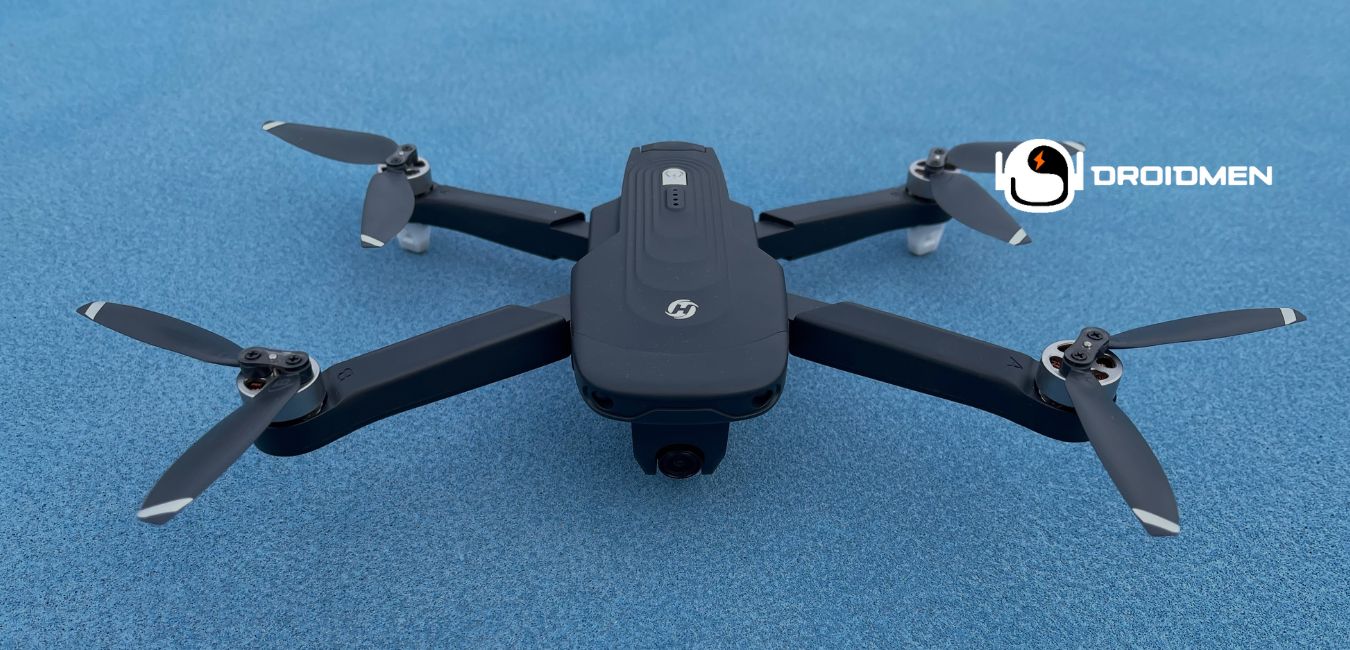
Resetting your Holy Stone drone can resolve many issues. This is from connectivity problems to performance glitches. Learn how to reset Holy Stone drone in this complete article.
To reset a Holy Stone drone, follow these steps. Turn off the drone. Locate the reset button. This is usually found on the side or bottom. Use a pin or paperclip to press. Then, hold the reset button for 10 seconds. Release the button and turn the drone back on. The reset is now complete.
This extensive guide will walk you through the process of resetting your drone, ensuring a smooth operation. Following these steps carefully can help you get your drone back in the air without any hitches.
Table of Contents
Key Takeaways
- Power Off: Turn off the drone by pressing and holding the power button until all lights are off.
- Press Reset Button: Use a pin or paperclip to press and hold the reset button for 10 seconds.
- Restart Drone: Turn the drone back on by pressing the power button until the lights come back on.
Preparation For Reset
Before resetting your Holy Stone drone, it’s important to prepare properly. This ensures the process goes smoothly and prevents data loss or further issues. Gather necessary tools like a pin or paperclip, back up any important data stored on the drone, and fully charge the drone’s battery to avoid interruptions during the reset.
Gather Necessary Tools
Gather all the tools you’ll need before resetting your Holy Stone drone. This includes a small screwdriver if your drone has screws covering the reset button. Make sure you have the drone’s user manual as well. The manual will help you find the reset button and understand the reset process. Having these tools ready will make the reset process easier and ensure you don’t miss any important steps.
Backup Your Data
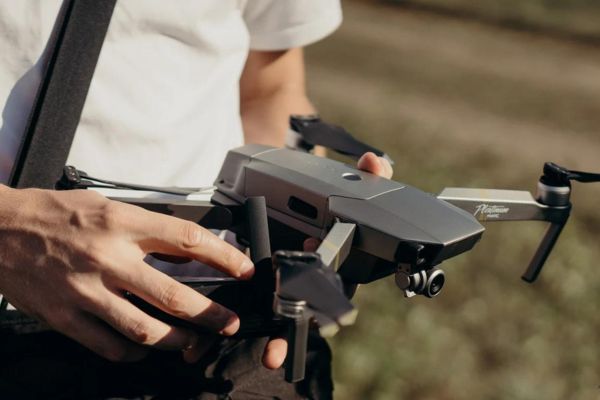
Back up your data is crucial before resetting your Holy Stone drone. Connect the drone to your computer using a USB cable. Transfer important files, like flight logs or photos, to your computer. This ensures you don’t lose them during the reset process. Taking this step is essential to keep your valuable information safe. When anything goes wrong during the reset, you’ll still have all your important data stored on your computer.
Charge The Drone
Ensure your drone is fully charged before starting the reset process. A fully charged battery ensures the drone has enough power to complete the reset and handle any needed updates afterward. Charging the drone fully helps avoid interruptions caused by a low battery, which can disrupt the reset process.
Always check the battery level and give it enough time to charge completely before beginning the reset. This way, you can ensure a smooth and uninterrupted reset process.
Step-By-Step Reset Guide
With your preparations complete, you can begin the reset process for your Holy Stone drone. Follow these steps carefully: First, turn off the drone by pressing the power button until the lights go off. Next, use a pin or paperclip to press and hold the reset button for 10 seconds. Follow manufacturer instructions to do everything correctly.
Power Off The Drone
Start by turning off your Holy Stone drone. Locate the power button on the top or side of the drone. Press and hold the power button until all the lights on the drone turn off. This step ensures the drone is completely powered down and ready for resetting.
Properly turning off the drone helps prevent any issues during the reset and ensures the drone is safe to handle. Always ensure the lights are completely off before proceeding to the next step.
Press And Hold The Reset Button
Locate the reset button on your Holy Stone drone. This button is usually small and can need a pin or paper clip. Once you find it, press and hold the reset button for about 10 seconds. This action starts the reset process, clearing any temporary issues the drone can have. Holding the button for the full 10 seconds ensures the reset is complete. After this, the drone will be ready for the final steps to get it back to normal operation.
Follow Manufacturer Instructions
Refer to your drone’s user manual for specific instructions related to your Holy Stone drone model. Different models can have unique steps or extra requirements for resetting. The manual provides detailed guidance to ensure you follow the correct procedure. Carefully read and follow these instructions to ensure the reset is done properly.
This helps avoid any mistakes and ensures your drone resets correctly. Always keep the manual handy for accurate information on your specific drone model.
Post-Reset Steps
After resetting your drone, follow these steps to ensure it works perfectly. First, recalibrate the drone by following the instructions in your manual. Next, check for any firmware updates and install them to keep your drone up to date. Finally, perform a test flight to ensure all functions, like takeoff and landing, work properly.
These steps are crucial for a smooth flight experience and optimal performance. Let’s get into the discussion.
Recalibrate The Drone
Once the reset is complete, recalibrate your drone. This means adjusting the drone’s sensors for accurate flight. Start by placing the drone on a flat surface. Then, follow the calibration steps in your user manual. These steps usually involve moving the drone in specific ways to ensure all sensors are properly aligned.
Completing the calibration process helps your drone fly smoothly and respond correctly to your controls. Always follow the manual’s instructions carefully to make sure the calibration is done correctly.
Update Firmware
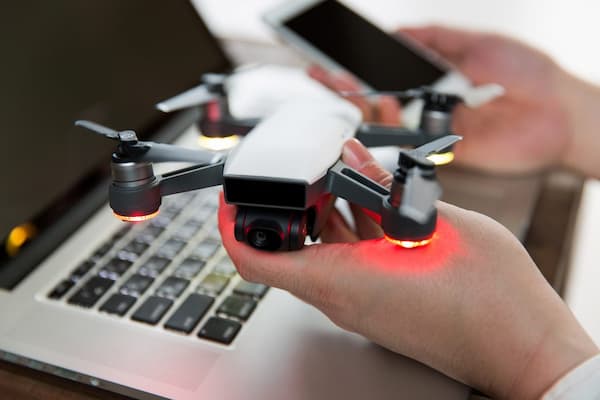
Check for any firmware updates available for your drone. Keeping the firmware updated ensures your drone has the latest features and fixes. To do this, connect your drone to your computer or use the drone’s app. Follow the instructions to download and install any updates.
Updating the firmware can take a few minutes, but it’s important for maintaining optimal performance and resolving any known issues. Regularly updating the firmware keeps your drone running smoothly and can improve its functionality. Always make sure to follow the instructions provided by the manufacturer for a successful update.
Test Flight Functions
Perform a test flight to ensure everything is working correctly after the reset. Start by checking the basic functions, such as takeoff and landing. Next, test the drone’s movement in all directions to confirm it responds properly to your controls.
Also, check the camera operation to see whether your drone has one, ensuring it captures and transmits images correctly. This step helps identify any issues that have arisen during the reset process. By thoroughly testing all functions, you can ensure your drone is ready for normal use and address potential problems early.
Troubleshooting Common Problems
Sometimes, even after a reset, issues can occur. Common problems include connection issues, calibration errors, and software glitches. For connection issues, ensure both the drone and controller are fully charged and try reconnecting. When calibration errors happen, repeat the calibration process carefully. For software glitches, reinstall the drone’s app or update the firmware.
Connection Issues
When your drone has trouble connecting to the controller or app, ensure both devices are fully charged and updated to the latest version. Next, turn off both the drone and the controller. Wait a few seconds, then turn them back on. Try reconnecting by following the pairing instructions in your user manual.
Sometimes, restarting both devices can resolve connection problems. When the issue persists, check the user manual or contact customer support for additional troubleshooting steps.
Calibration Errors
When calibration errors occur, repeat the calibration process. Follow the instructions and place the drone on a flat, level surface. This ensures the sensors align correctly. When errors persist, it could indicate a hardware problem. In this case, contact the manufacturer’s customer support for professional assistance. They can provide specific guidance or recommend repairs. Proper calibration is crucial for accurate flight, so don’t skip this step.
Software Glitches
Software glitches can often be fixed by reinstalling the drone’s app or updating the firmware. Start by deleting the app from your phone and reinstalling it from the app store. Follow the update instructions in the manual to ensure your drone’s firmware is current.
When these steps don’t solve the problem, contact the manufacturer’s support team for further assistance. They can provide additional troubleshooting steps or suggest repairs if needed. Addressing software glitches promptly ensures your drone operates smoothly and efficiently.
FAQs
1. How Do I Backup My Holy Stone Drone Drone Data Before Resetting?
To back up your Holy Stone drone data before resetting, follow these steps. Connect the drone to your computer using a USB cable. Open the drone’s storage folder and copy vital files, such as flight logs and photos, to your computer. This ensures your data is safe and won’t be lost while resetting.
2. Can I Reset My Holy Stone Drone Without The App?
Yes. You can reset your Holy Stone drone without the app. Locate the reset button on your drone, found on the side or bottom. Use a pin or paperclip to press and hold the button for about 10 seconds. Release the button, and your drone will reset, completing the process without needing the app.
3. How Often Should I Reset My Holy Stone Drone?
Reset your Holy Stone drone only when you experience issues. For example, connectivity problems, performance glitches, or after major firmware updates. Regular resets are not necessary for normal operation. Resetting when needed helps maintain optimal performance and resolve any temporary issues.
Conclusion: How To Reset Holy Stone Drone?
Resetting your Holy Stone drone is a simple process that can fix many common problems. By following the steps in this guide, you can reset your drone successfully and get back to smooth flying. Start by preparing properly: gather tools, back up data, and charge the drone.
Then, turn off the drone, press and hold the reset button, and follow the manufacturer’s instructions. After the reset, recalibrate the drone, update the firmware, and test all flight functions. These post-reset steps ensure your drone operates at its best. By doing this, you can enjoy flying your drone without any issues.